Browse Tech Tips
>
Dash Cover Installation
Dash Cover Installation
The following instructions are merely suggested options for installation. Dixie Monte Carlo is only responsible for the parts that it ships and is not responsible for faulty installations. Labor claims will not be acknowledged. If you are not familiar with the processes listed below, please seek the help of a professional automotive technician.
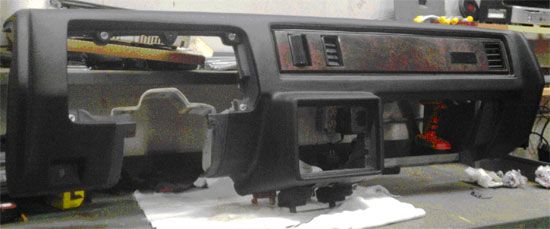
The installation below was done on a 1984 SS dash assembly that was removed from a donor car.
1. To achieve the best fit, it is best to remove the instrument cluster, lower steering column panel, glove box, radio trim panel and the dash vent panel(s). See Step 5 - we chose to install the r/h dash vent panel prior to installing the cover.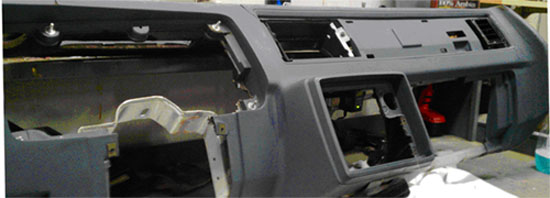 2. In order to get the cover to lay as flat as possible, remove all the “high spots” where the dash is cracked and/or broken. We use a few sharp razor blades to cut the cracked area back so they no longer stick up. If your dash had very large cracks, then it is possible that the foam has dried up and become a dust. Make sure to vacuum all of this dry foam so that it does not impede the cover adhesive.
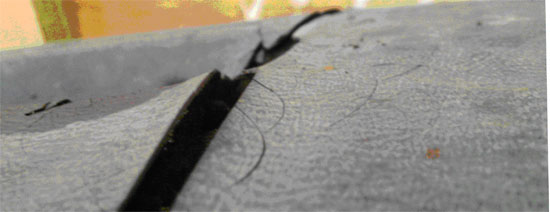 3. Dry fit the new cover before using any of the included adhesive. You may need to trim the cover is a few small areas in order to get the cover to fit just right. This can be done with a razor blade (we did not have any areas that needed trimming on this install).4. If you are changing the color of the dash as we did in these instructions, then make sure to paint all surfaces of your original dash that the cover leaves exposed.5. Once you are satisfied with the dry fit, it is time to clean both the dash and the underside of the cap. Cleaning the 2 will ensure that the silicon adheres properly to both surfaces. Alcohol wipes make an excellent cleaner and special attention should be paid to the dash since it probably has 20+ years of interior protectants (i.e. ArmorAll).6. Once the surfaces are dry and you are comfortable with the fit, it is time to start the permanent install. We chose to install the passenger side trim panel prior to installation of the dash cover since it was difficult to install this panel after the cover is removed (without trimming the cover around this opening).7. Apply a thin bead of adhesive to the underside of the cover (we apply it to the perimeter and all large flat areas of the cover). Use your finger, putty knife or paint stick to smooth the bead of silicone into a fairly consistent flat film. NOTE: the adhesive is much easier to work with if you let it sit in hot water for a few minutes before you start.8. After you’ve applied the cover, run your hands over the cap to smooth all areas of the adhesive. We suggest using painters tape to hold the cover in place along the edges and any areas that will not stay flat (we used packaging tap since it is readily available to us). The tape was most needed around the glove box and the steering column panel.
 9. Allow the adhesive to cure for the manufacturers recommended cure time or 24hrs if not specified on the tube.While a cover is not perfect for everyone, it does restore the look of the interior for far less money and labor than a new or reconditioned dash assembly.